
Photoshop Post-Production
posted in Photography, Fine Art, Photography, Portraits by admin on November 10, 2019Blending Photos in Photoshop Post-Production
Photoshop Post-Production a photographer’s chance to show their unique creativity and style; blending photos is a fun way of doing just that.
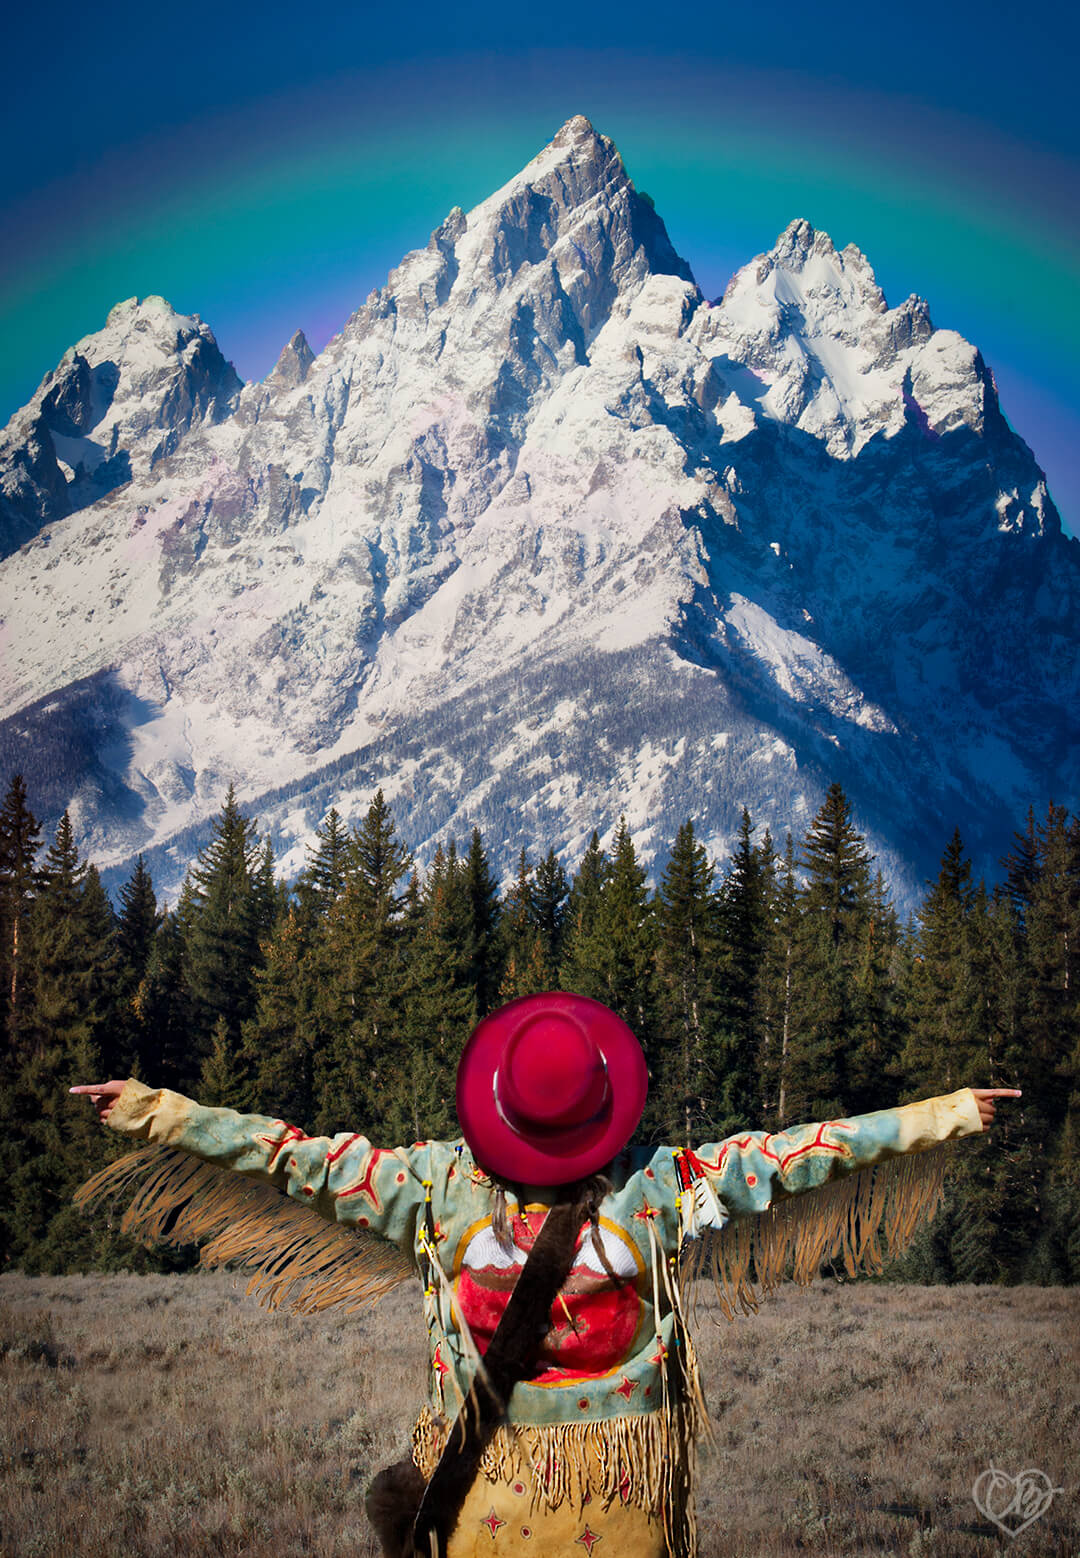
For the photo above, I blended the following three photos, one of Natalia, one of the Tetons (Grand Teton National Park) and one of a free rainbow texture I found online. It turned out way more colorful than my originals:
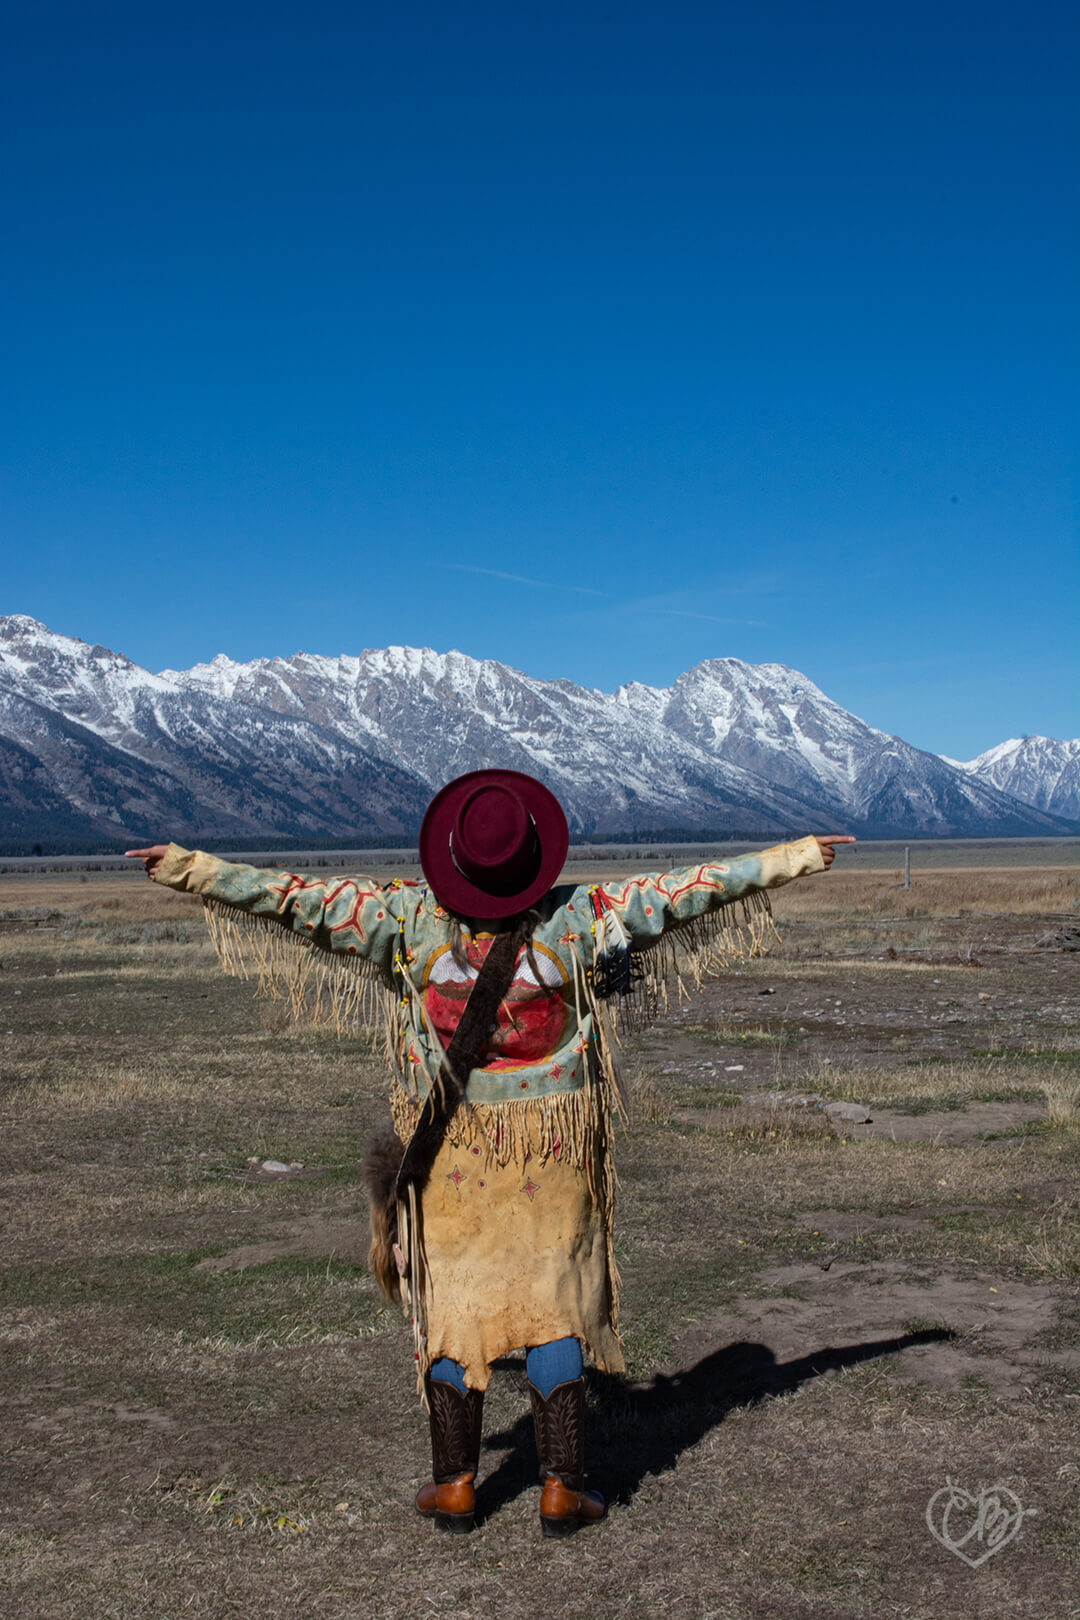
Natalia is such a fun friend! She is always willing to help capture amazing photographs. In Photoshop post-production, I selected Natalia then masked out everything around her. Then I copied and pasted Natalia to a photo I view of the Tetons closer up. The hardest part of masking around Natalia was the leather fringe on her coat.
Be sure to check out Natalia’s photoblog here: Natalia’s Blog
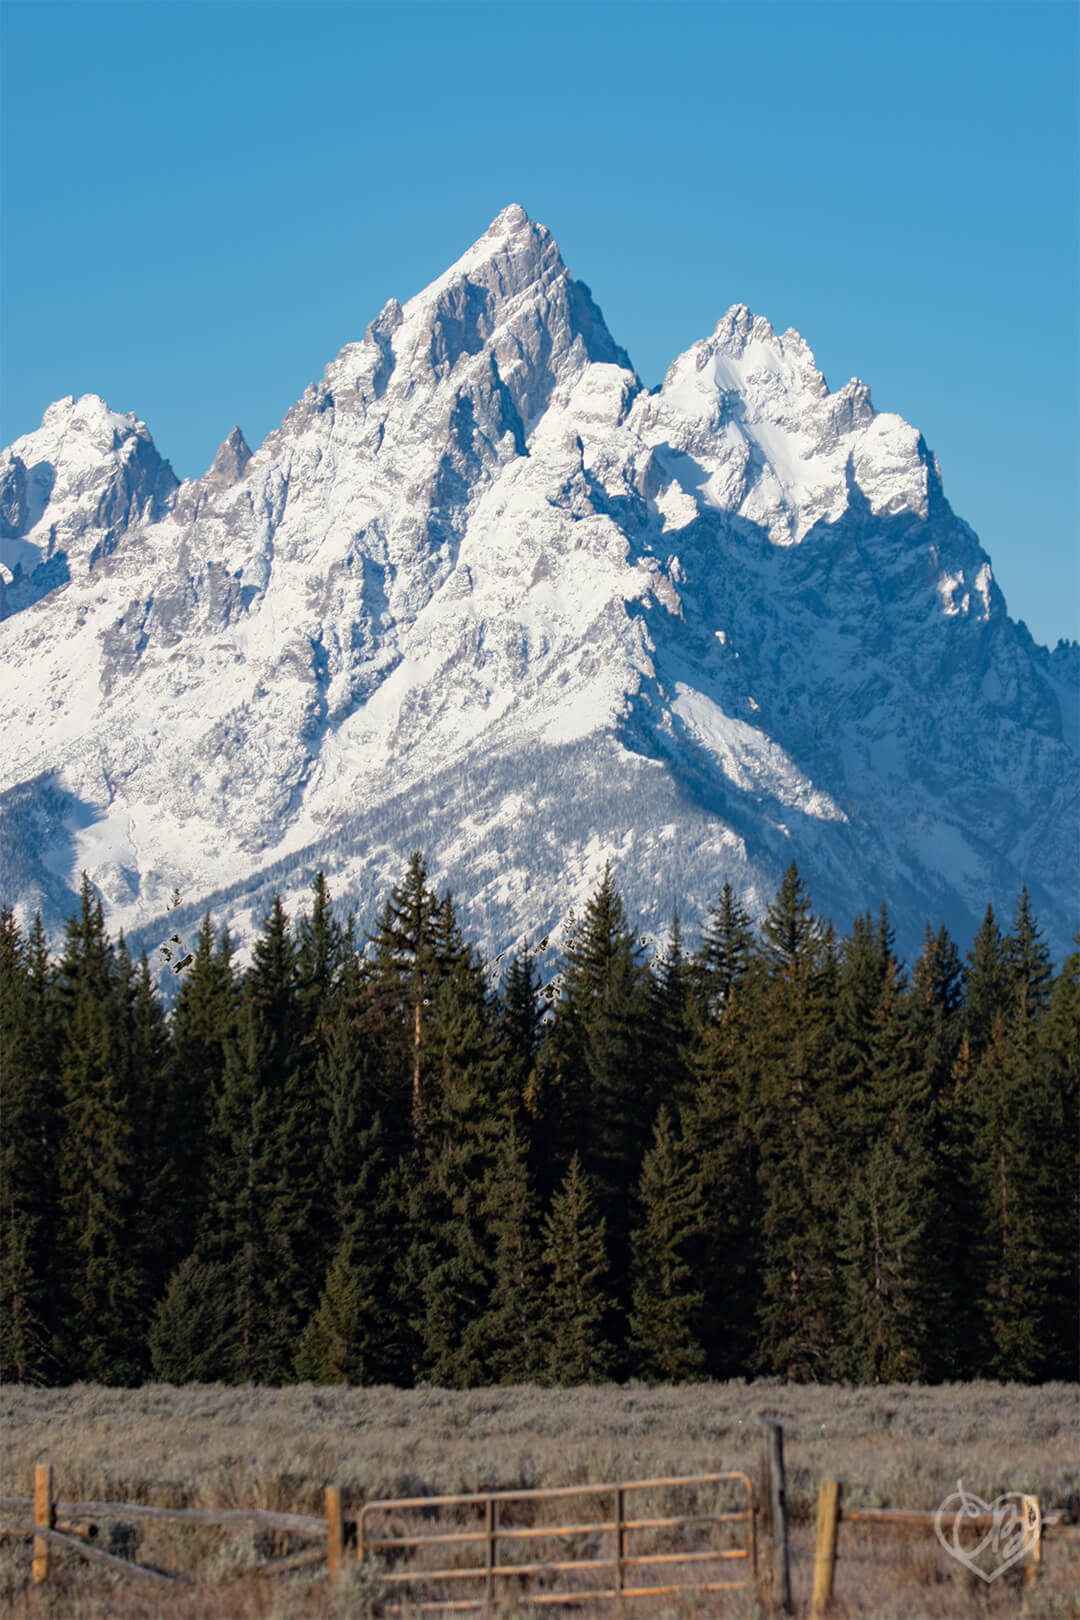
Above is the original photo I took of the Tetons. Before I blended this photo with the photo of Natalia (above), I used the clone stamp to remove the fence from the foreground. Then, added this rainbow png that I found online:

Lastly, I dodged and burned to bring out the highlights and low lights. What do you think of the final result?
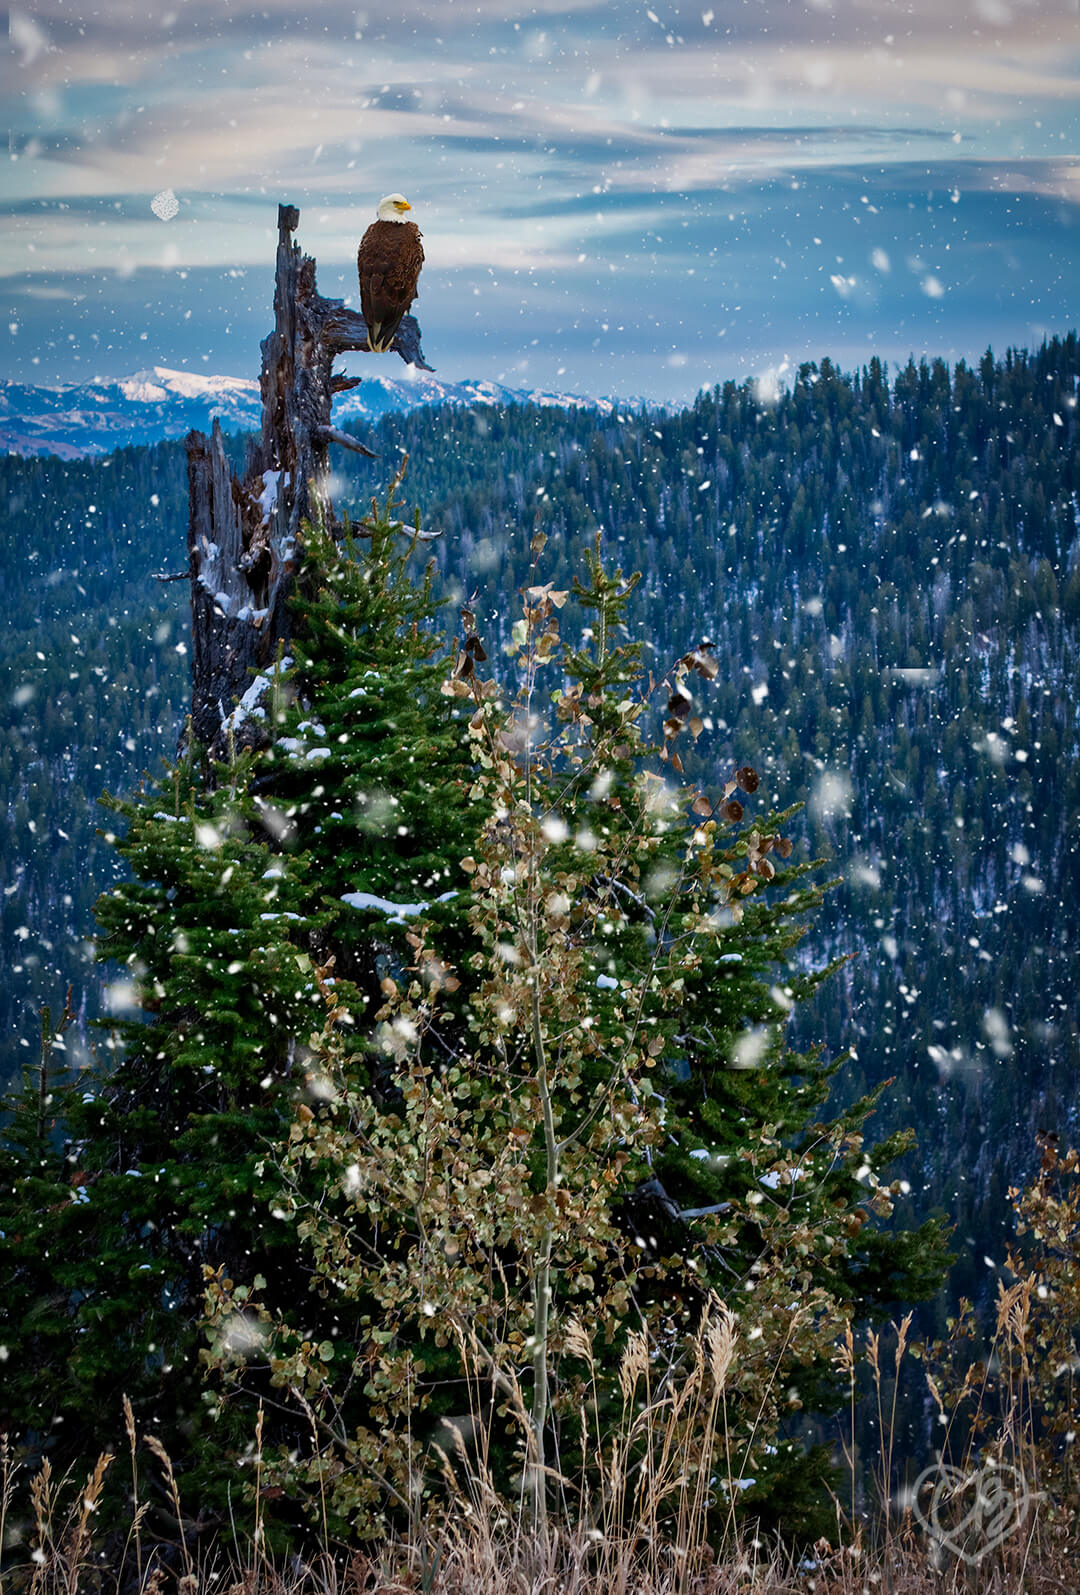
Here is another photoshop post-production image I blended using photoshop:
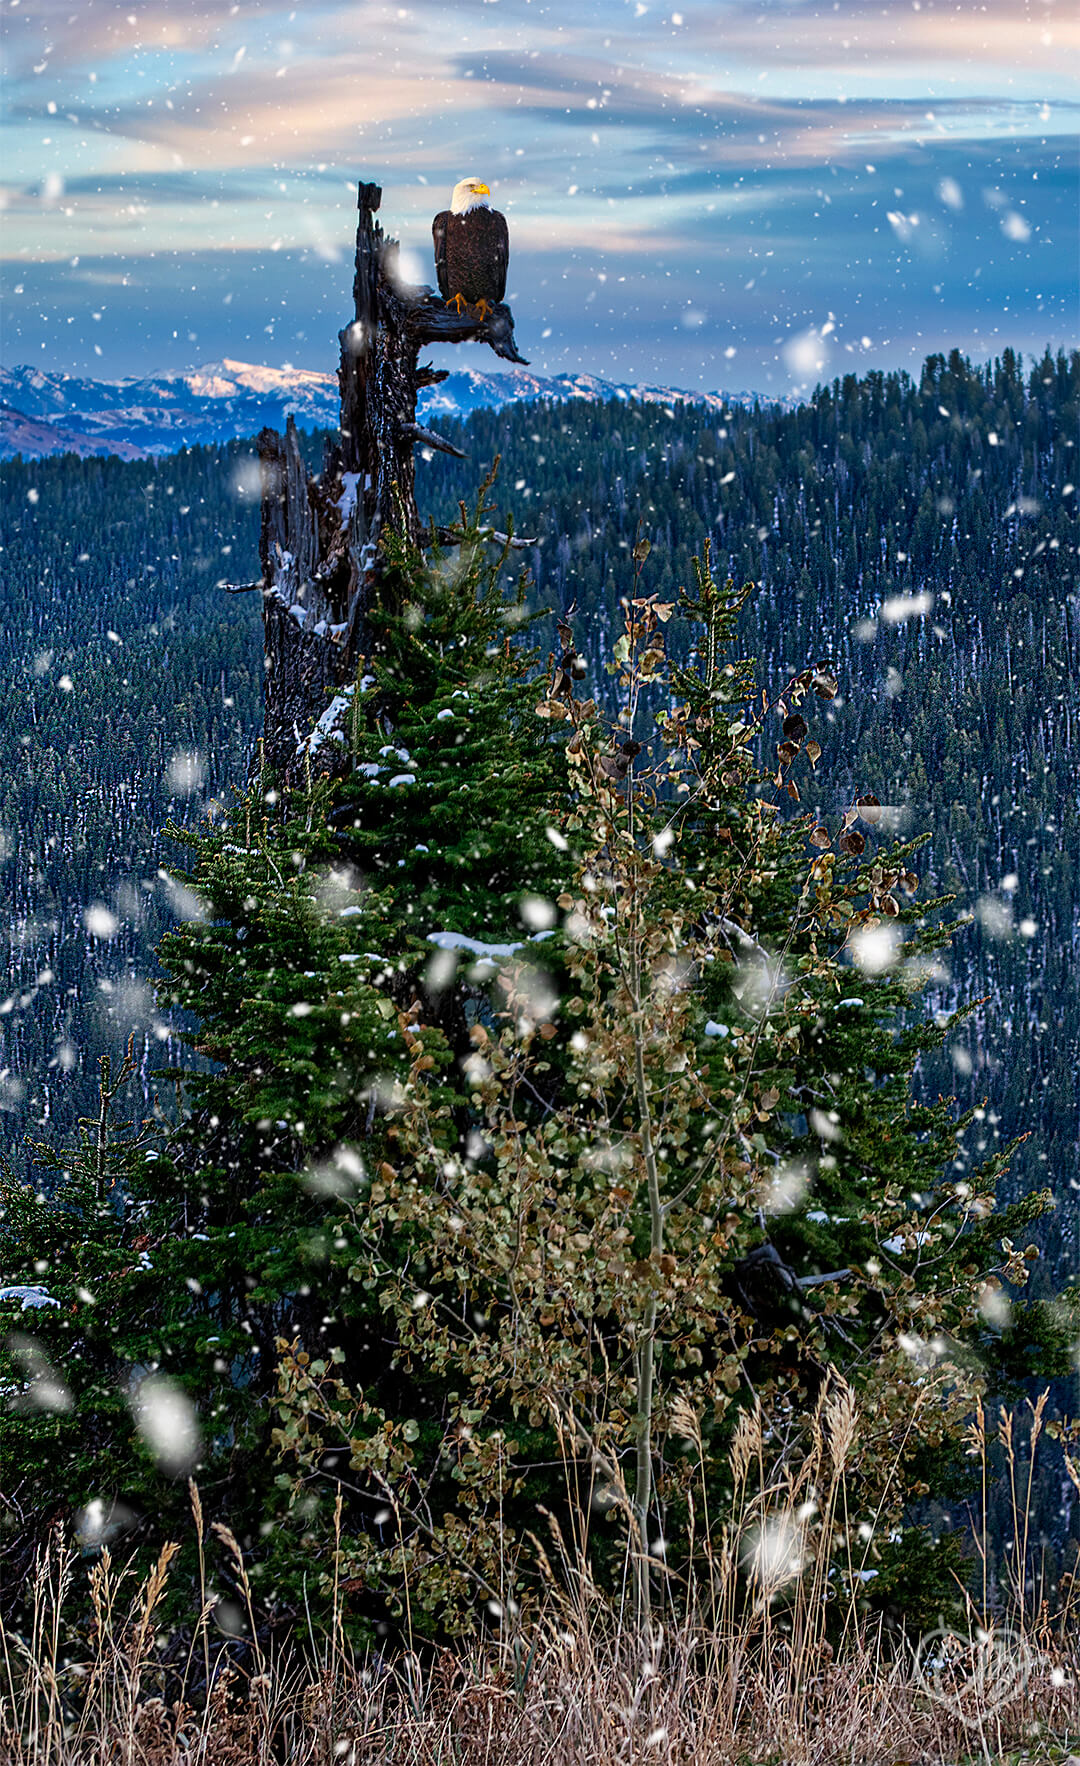
This was the original photo I shot when coming over the mountain from Jackson Hole, Wyoming:
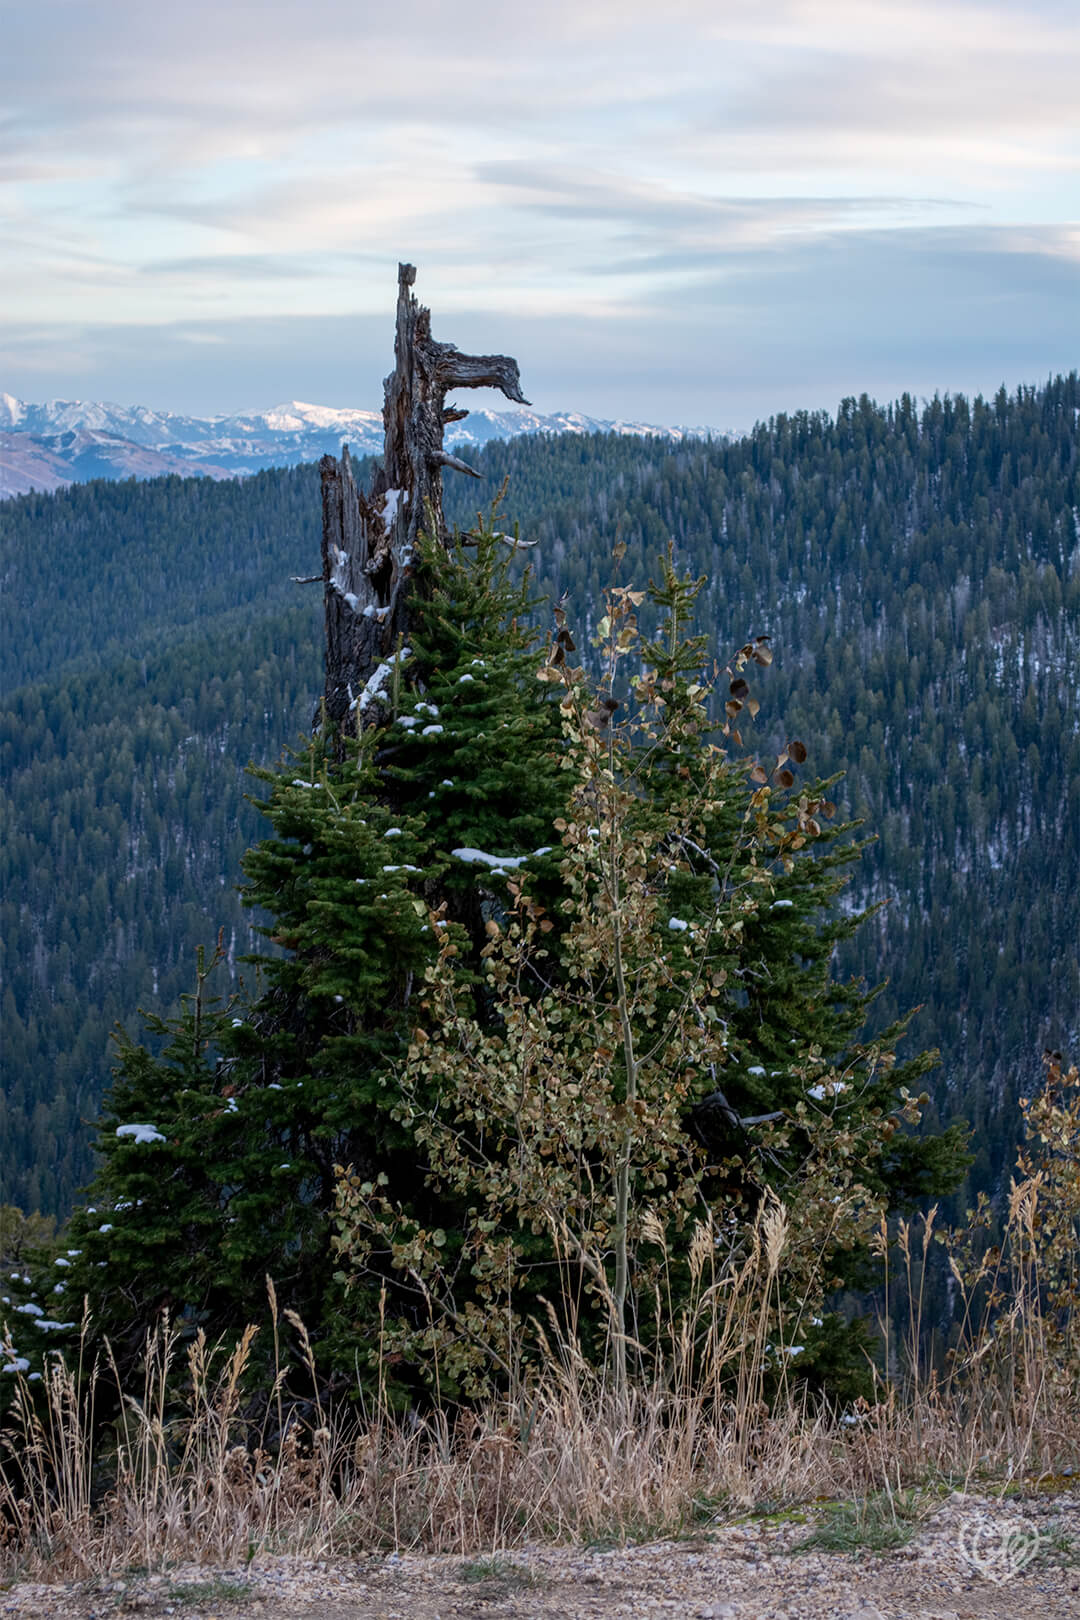
I blended my original photo with a free photo of an eagle that I found online. I selected the eagle out of the photo and then used the “select and mask” feature in photoshop to capture the detailed feathered edges.

Since there was already snow in my original photo, I added some additional snow texture.

This is the same original photo and snow texture I used above. In this photoshop post-production photo using a Color Lookup Theme and Background blend. Only in this photo, I used a different eagle. Which eagle photo do you like best?
There are tons of tutorials on blending photos. One of my favorites if from Caryn Esplin. You can see her video here.
Pingback: Photo Shop – Post Production | My Website
Christie! I am in LOVE with your photos! The edits you made adds great depth. The eagle one is so awesome! I legit thought it was real before scrolling haha! Here’s a link to my blog post about adding textures to a photo. https://noelleco.net/textures-in-photoshop/Here's a link to Amber’s blog post about how she used her photos to create a creative photoshop photo. http://fugalproductions.net/fine-art-photoshop/ Here’s the video I wanted to learn more about textures! Check it out! https://learn.lindsayadlerphotography.com/using-textures-to-add-depth-to-your-photos/
These are awesome Christie! You did such a good job at making that selection of Natalia. I couldn’t even tell it was from another photo. Also the eagle in the snow photo is just epic. Way to go. Check out some more cool posts here:
https://mboyack.com/post-production/
https://marleehigginsphoto.com/photography-post-production/
http://christiebryant.com/photoshop-post-production/
Hey Christie! I think you have a really good eye for seeing what can be added to your photos. In all your examples the compositing is really seamless, and I think it’s because the subjects really feel like they belong there (as well as all the hard work you put into selecting and masking,etc). I LOVE the eagle one!
Here is some of my creative compositing:
https://aidangriener.com/creative-compositing/
Here is Taylor’s creative photo editing:
https://tbepochphotos.com/creative-photo-editing/
Here is an article from PeachPit (an educational website) about creative compositing:
http://www.peachpit.com/articles/article.aspx?p=1946865