Skills Cultivated During Digital Imaging

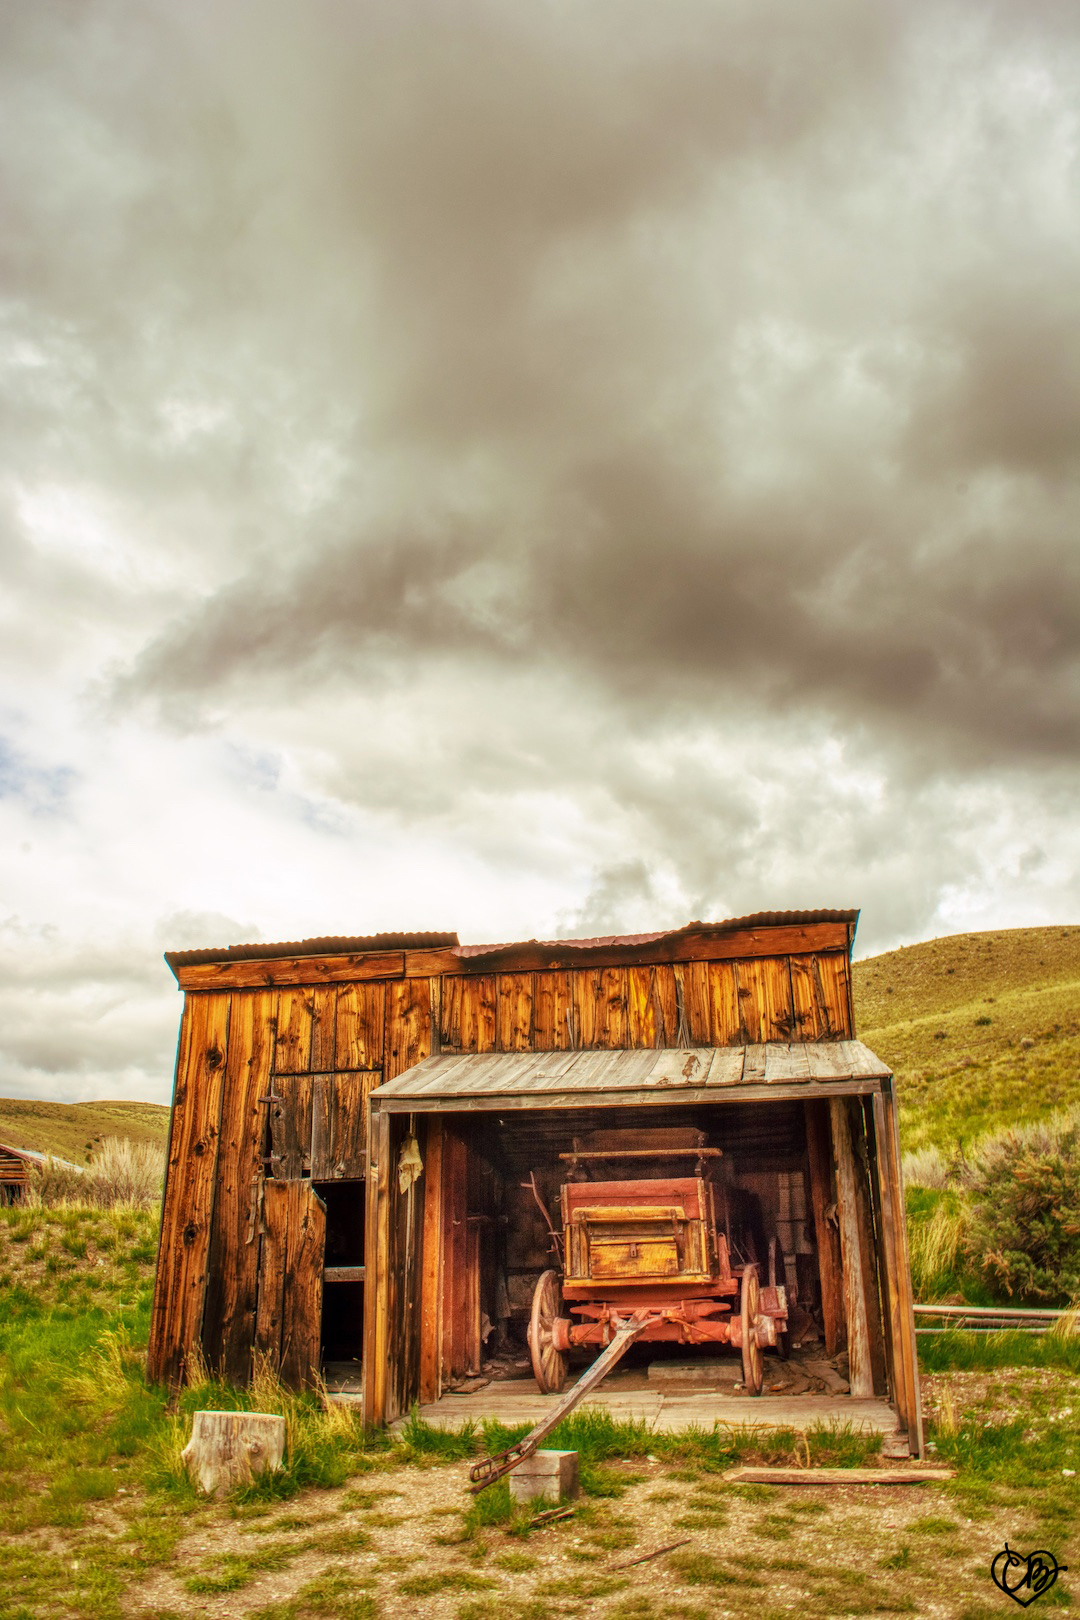
I have gains loads of new “smarts” while taking Digital Imaging this semester, much of which have to do with how to use my SLR camera’s full potential. One of the most useful skills I’ve learned is how to use photo bracketing. The picture above (Bannack Ghost Town) was taken using the bracketing setting on my camera. A bracketed photo consist of three photos: one over-exposure, one normal exposure, and one under-exposure, then all three are blended together during post.

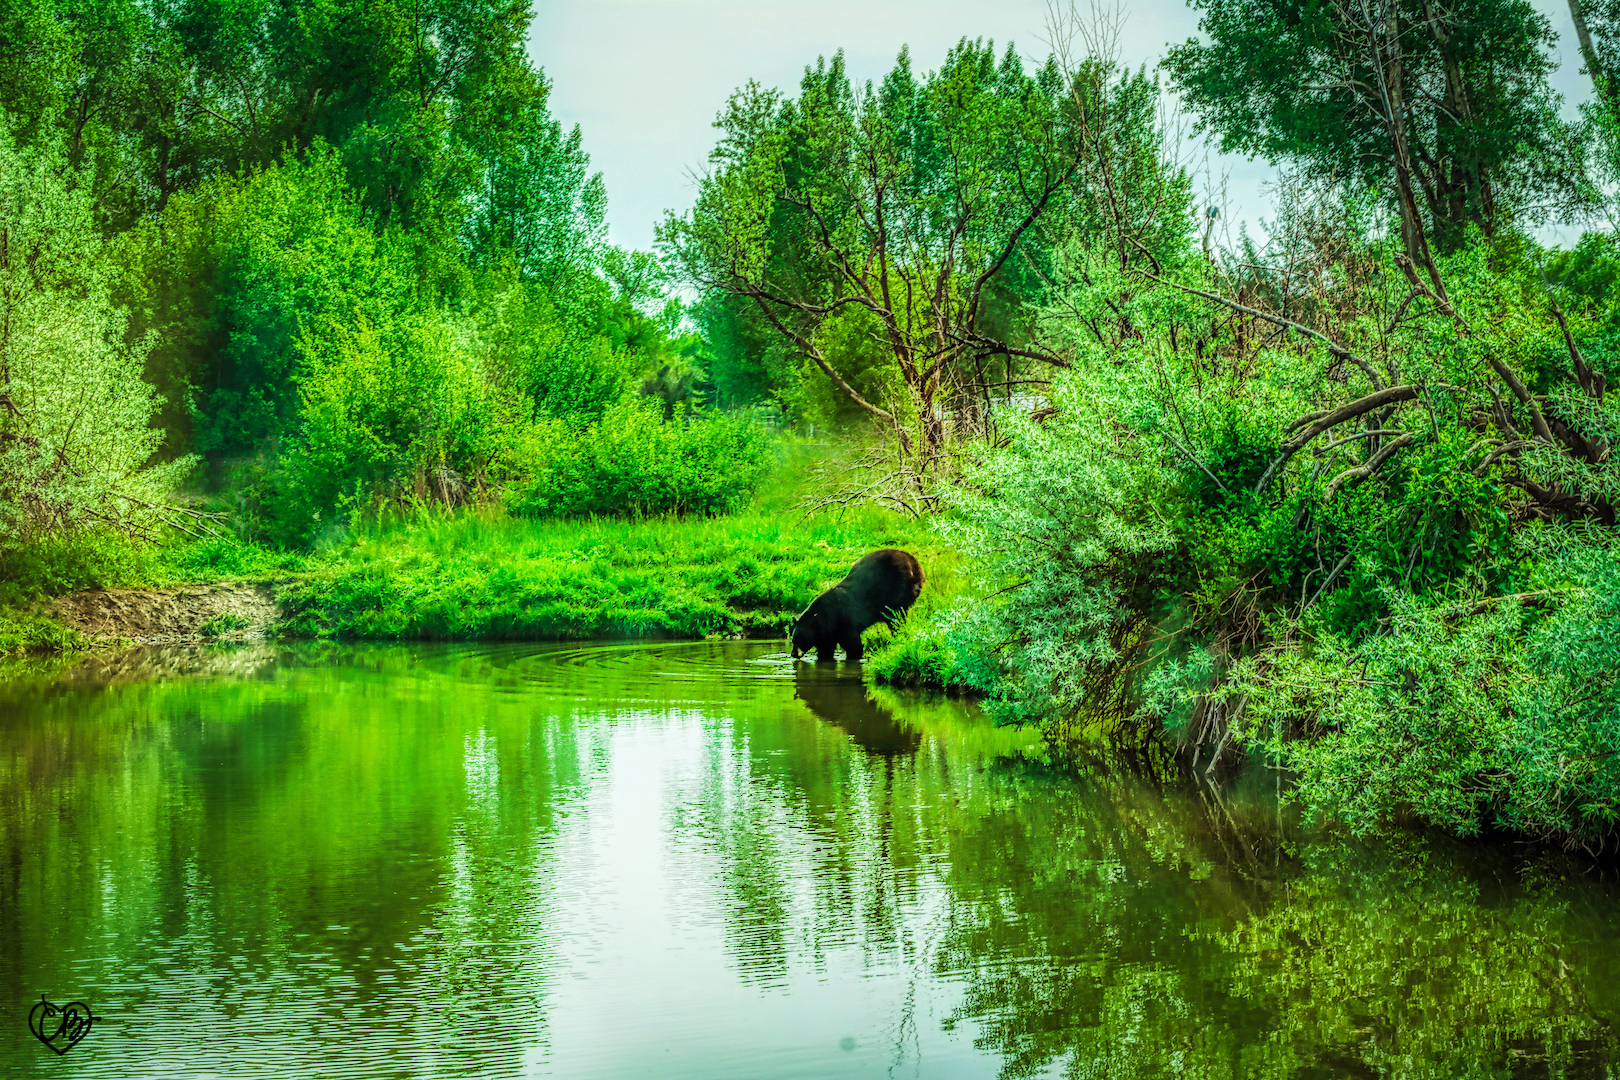
Speaking of post, I’ve picked up some new know-how when it comes to using Adobe Photoshop and Lightroom. The photo of the bear above was a bit dark, so I was able to increase the light during post; this brought out the beautiful reflections in the water — I love all that green!

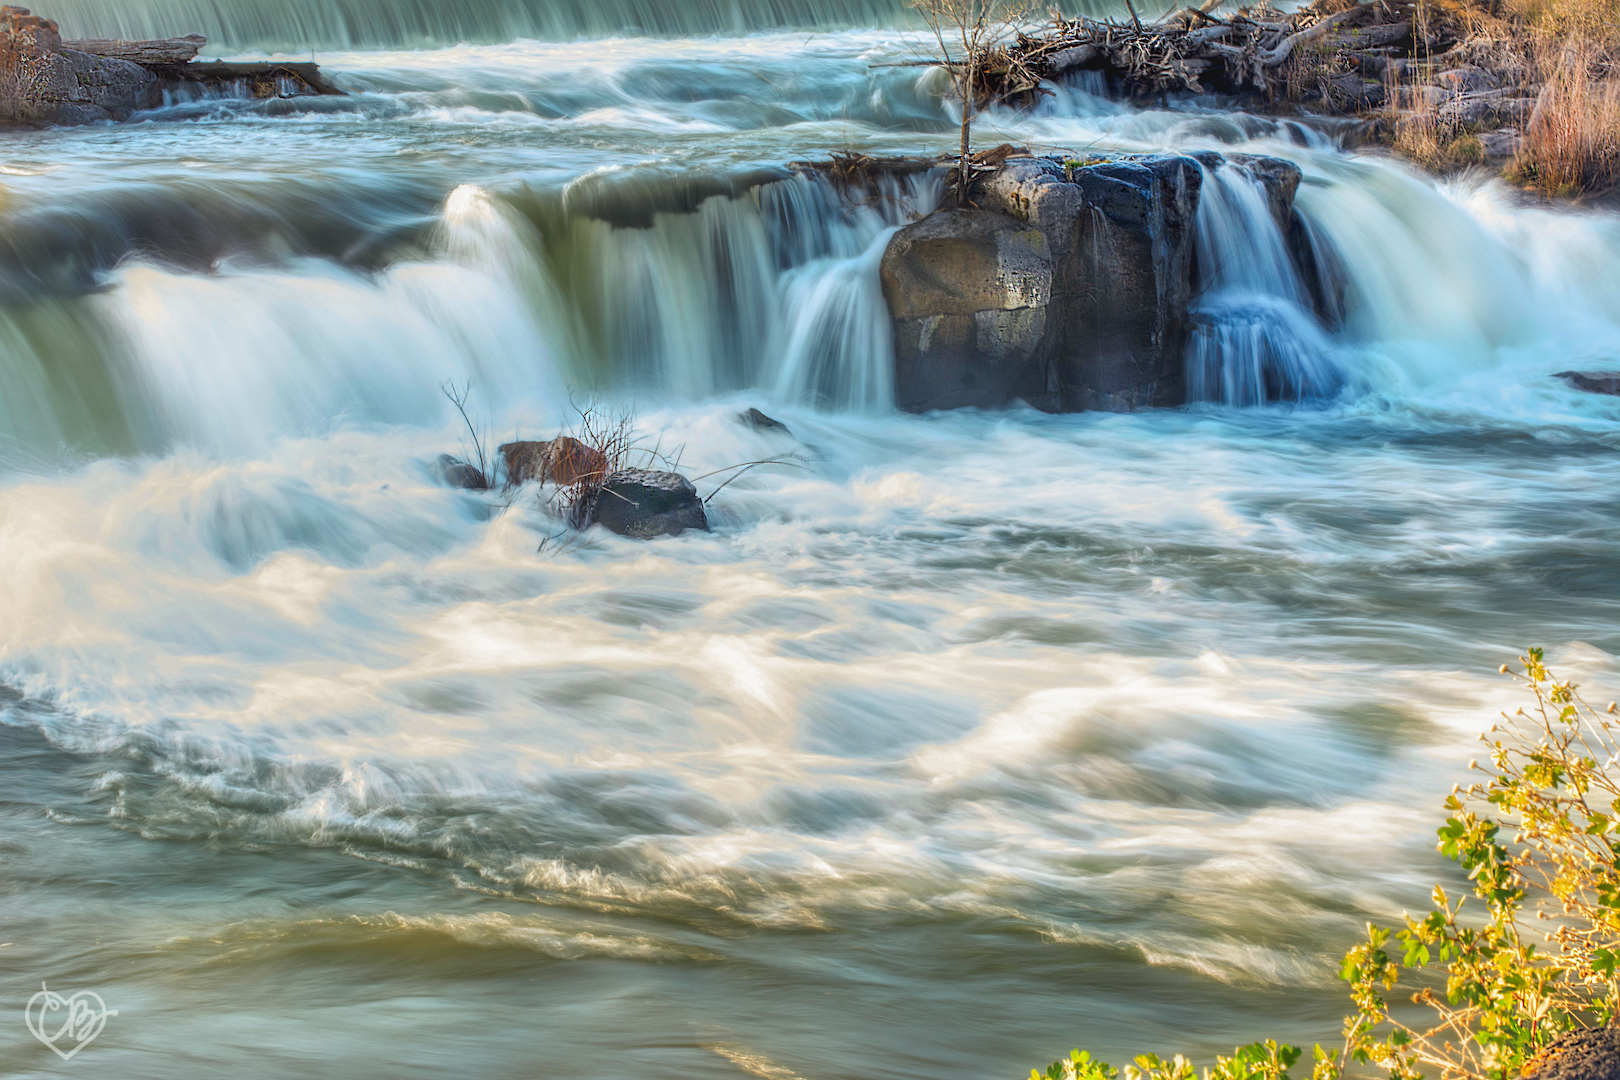
Some ingenuity I’ve added to my repertoire during this semester is the use of a tripod. I’ve owned one for a long time, but have never really used it much until now. Using a tripod helped me capture the beautiful soft-looking flow of water in the falls pictured above.

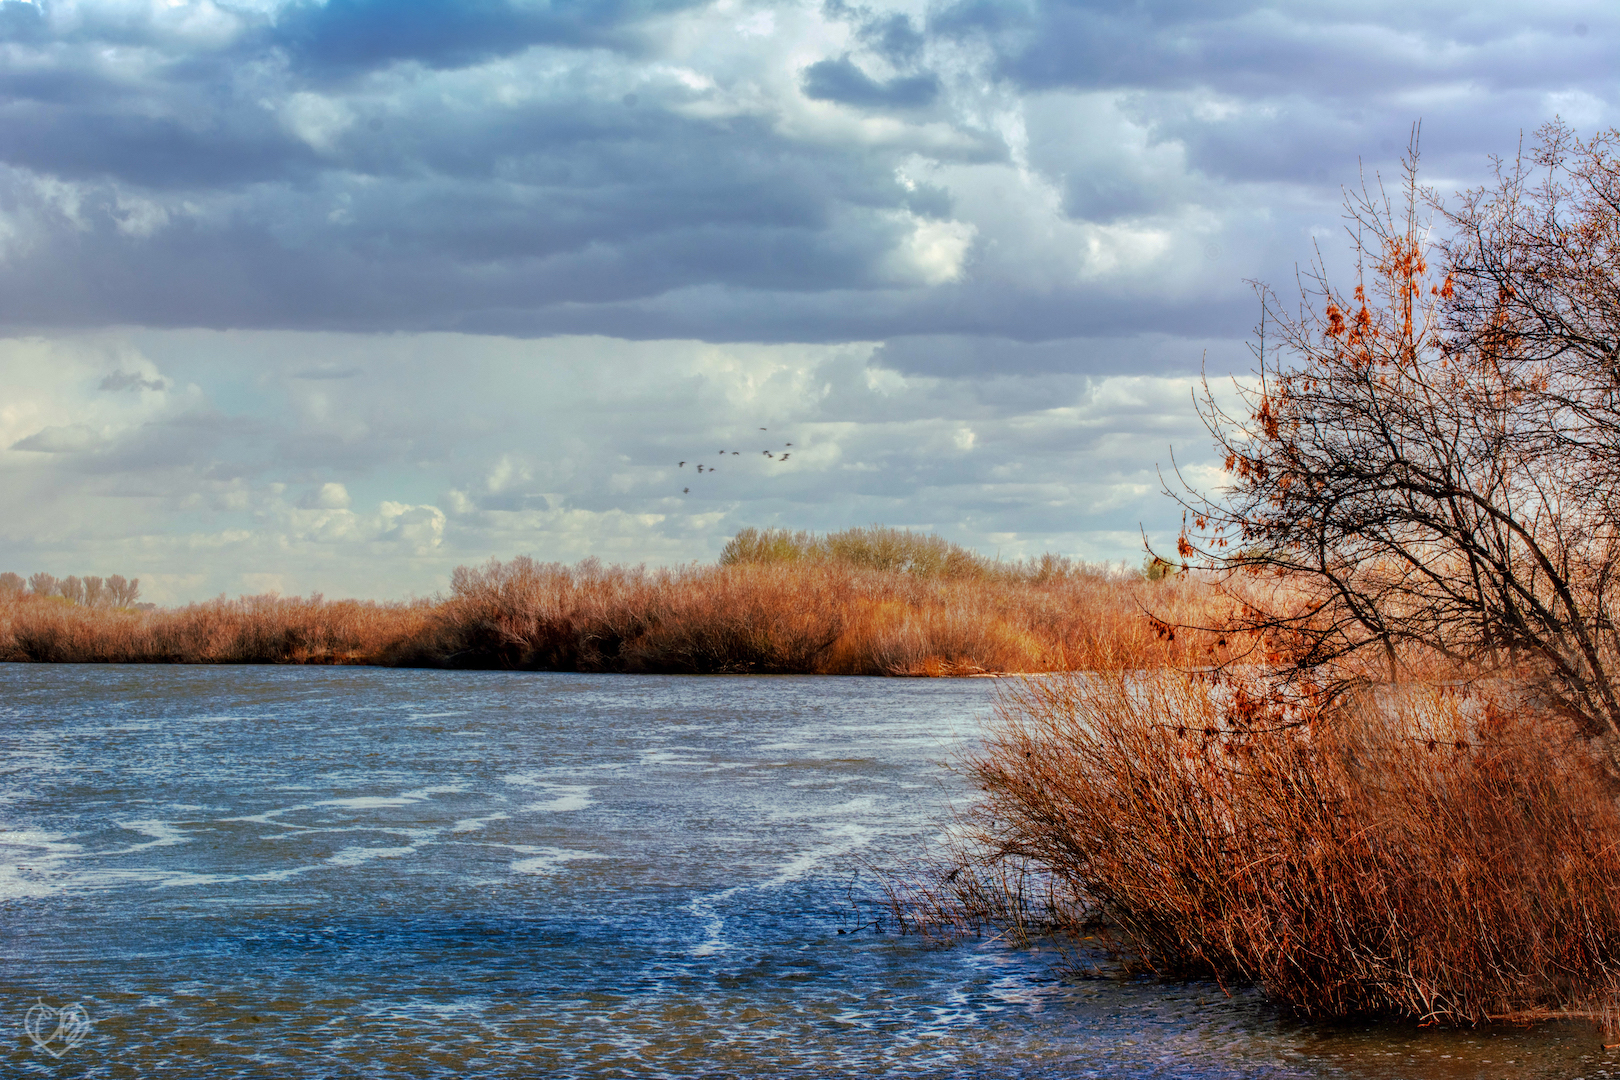
Another discovery that has given my photos more moxie is the Aurora HDR program. It blends bracketed photos perfectly. Caryn Esplin shared all the success she has had using Aurora for editing photos during Digital Imaging class, and now I’m hooked! The last two river photos in this post are bracketed photos that have been edited using the Aurora HDR program.

The techniques that I have learned this semester have been invaluable. I have fallen even more in love with taking photographs (if that’s possible) and found joy in learning new skills while focusing on Caryn Esplin’s four photography principals of Light, Focus, Composition, and Creativity.
