Before & After
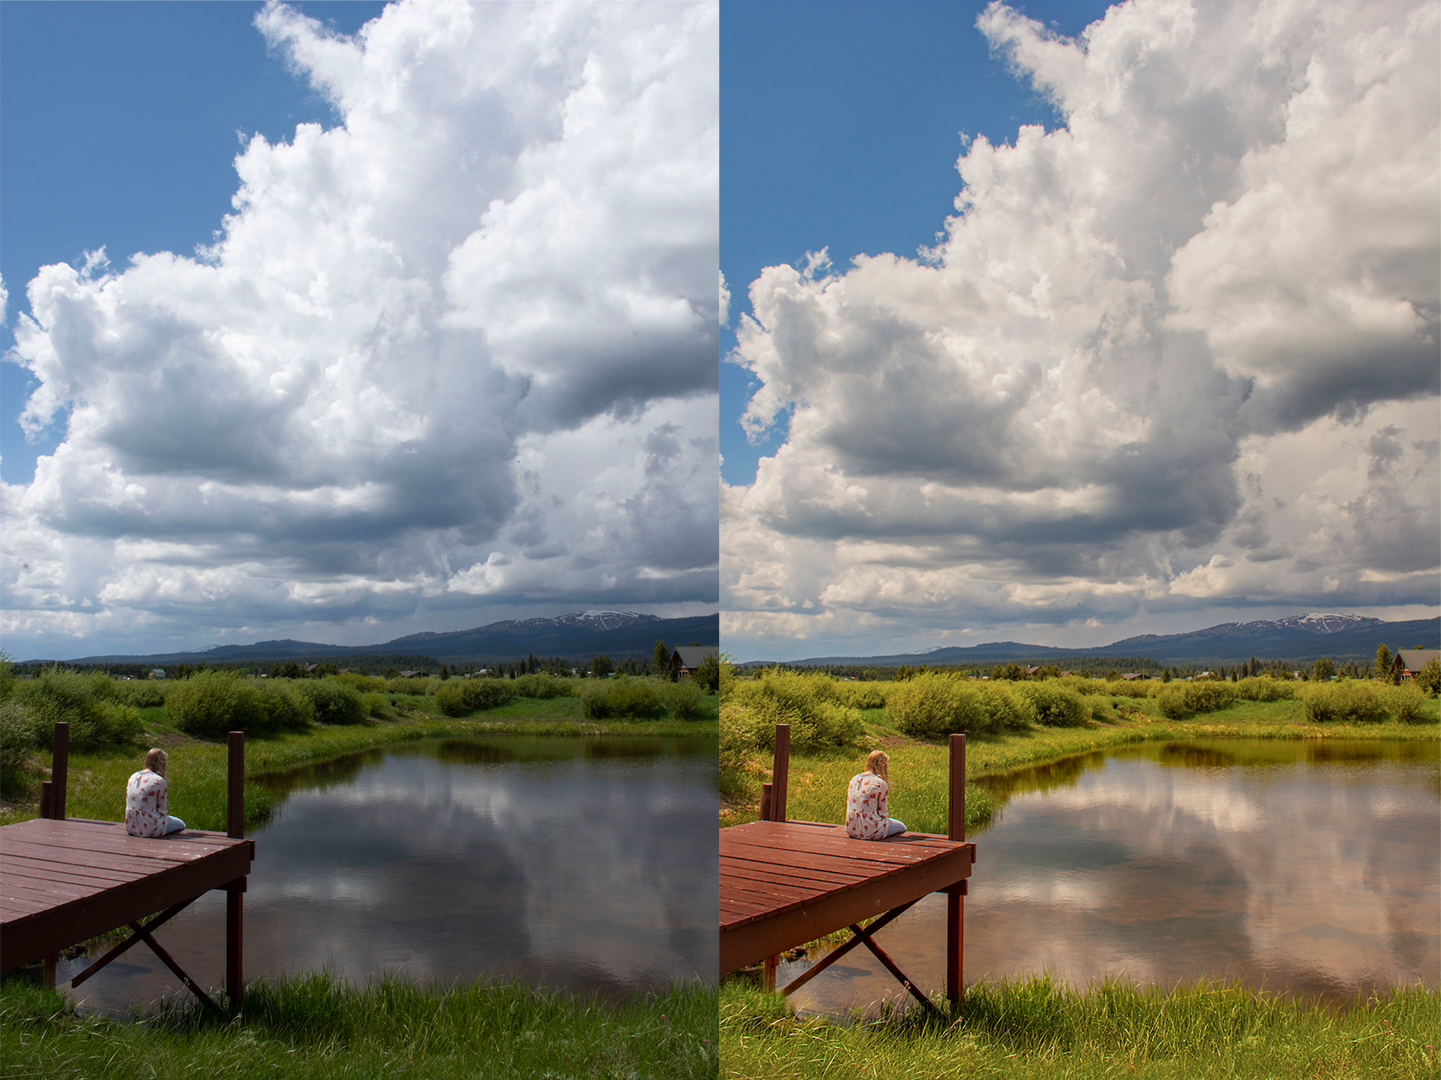
My Photo Editing Process
First Things First
When I edit photos the first thing I do is lower my screen brightness. When I’m working on my iMac, I usually lower the brightness to about 50%. If I’m working on my Laptop, I lower the brightness to about 60%. Lowering your brightness helps to prevent your images from printing too dark.
Basic Edits
I always start with some basic photo editing. Using Adobe Camera Raw, I raise my shadows and blacks; this helps retain the photos detail when printing. Next, I adjust the sliders starting with the temperature sliders (yellow/magenta). Then I’ll move on to add some clarity, texture, or de-hazing.
Photoshop
After the basic edits, I open my image in Adobe Photoshop. I start by adjusting my image to a larger size then I zoom in 100% to make sure the pixels hold up at a larger size.
Additional Editing
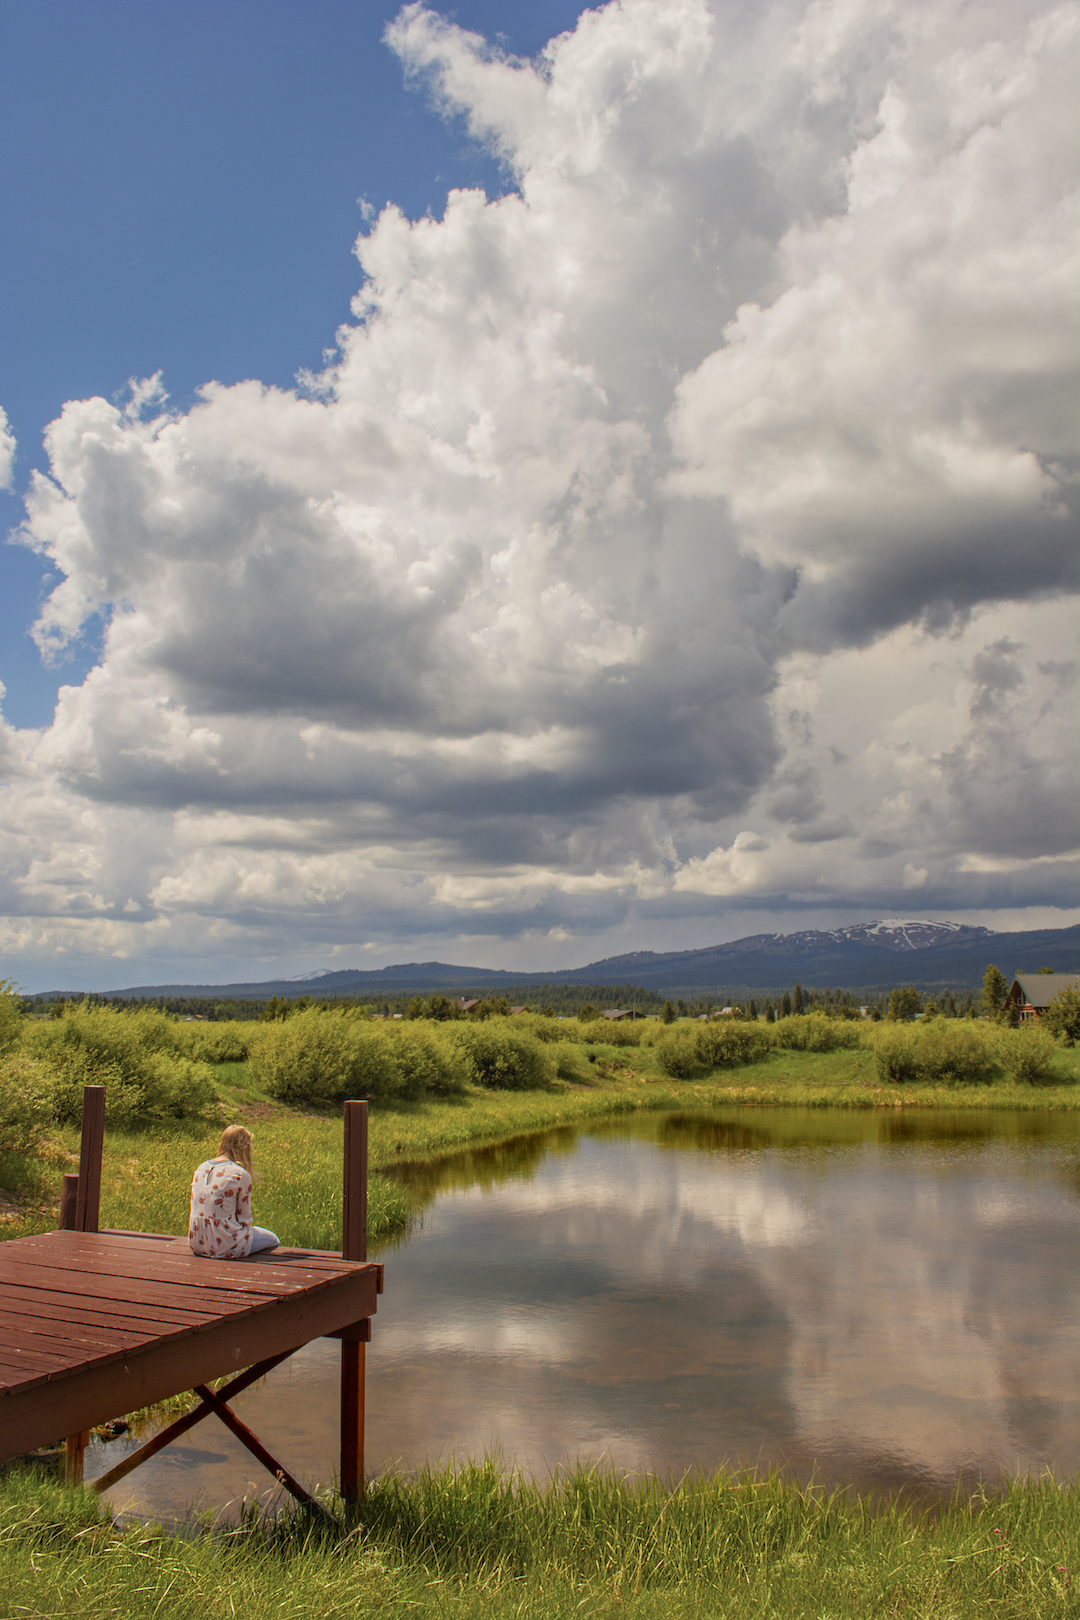
This photo didn’t need very much additional editing. Using masks and filters, I adjusted the vibrancy of the photo, the shadows were darkened a little, and the highlights were brought up a bit. Then, a little color burning and sharpening was done to the dock portion of the image. I also used the Spot Healing tool to get rid of sensor dust spots and little imperfections.
All that was left was to save and export my photo, then I uploaded it to McKenna Pro. I’m really happy with how my photo edits turned out and can’t wait to see the print when it arrives!