Aperture, Shutter Speed, and ISO
While setting out on some self-motivated education about the three fundamental elements of exposure: aperture, shutter speed, and ISO, my quest became easier when I found fantastic, royalty-free, images to share while visiting www.pexels.com.
Aperture Lingo
Photographers often refer to the camera’s aperture in f-stops. When first learning how to use the manual mode on your digital camera, it can feel really confusing. Together with shutter speed, aperture determines how much light can reach the lens.
Aperture Quick Tips: A wide aperture or opening equals more light. A narrow aperture or opening equals less light.
Wide Aperture
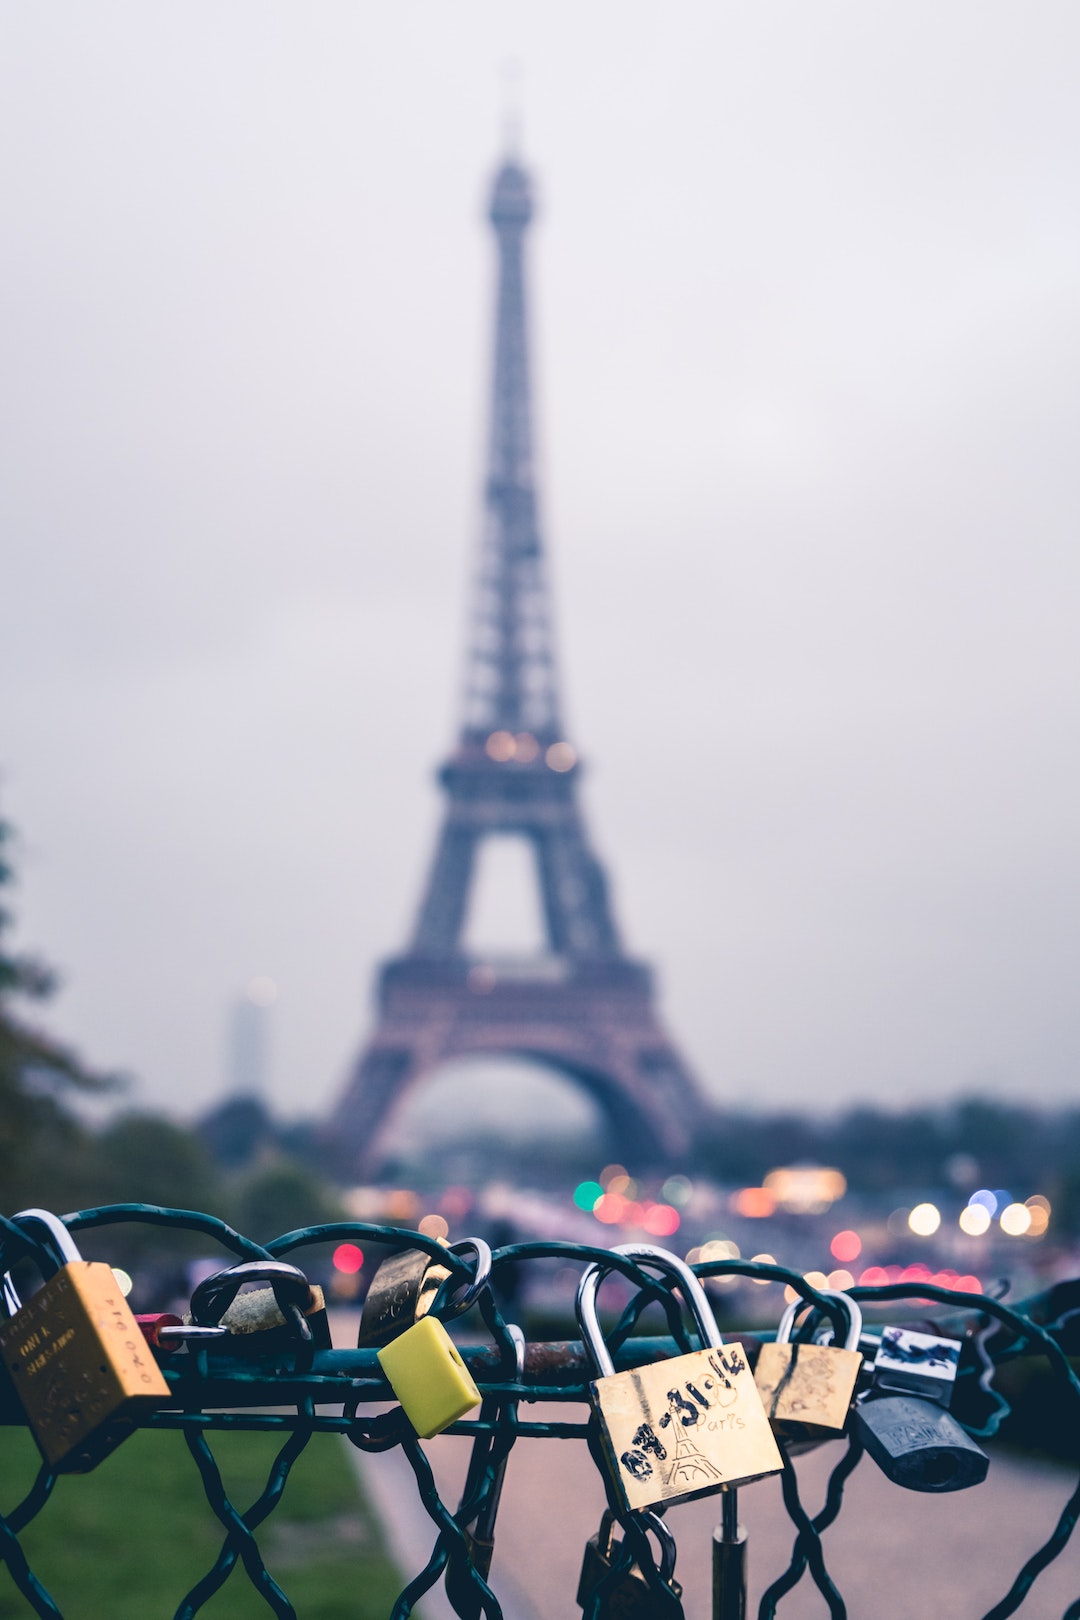
The above photo of the Eiffel Tower is an example of wide aperture. using a wide aperture allowed the locks in the foreground to be crisp and clear while the background remained blurry (or as photographers like to call the blur, bokeh).
Here’s where aperture can get confusing: The wider the aperture, the smaller the f-stop. Big opening = small number. Examples of wide aperture f-stops are f/1.4, f/2.8, or f/4.
Use a wide aperture when you want to focus attention on your subject while keeping the background blurred (also called bokeh), isolate an object from a distracting background, allow more light to reach the sensor enabling a faster shutter speed (freeze action or stop camera shake), or create some fun abstract or macro photos.
Narrow Aperture
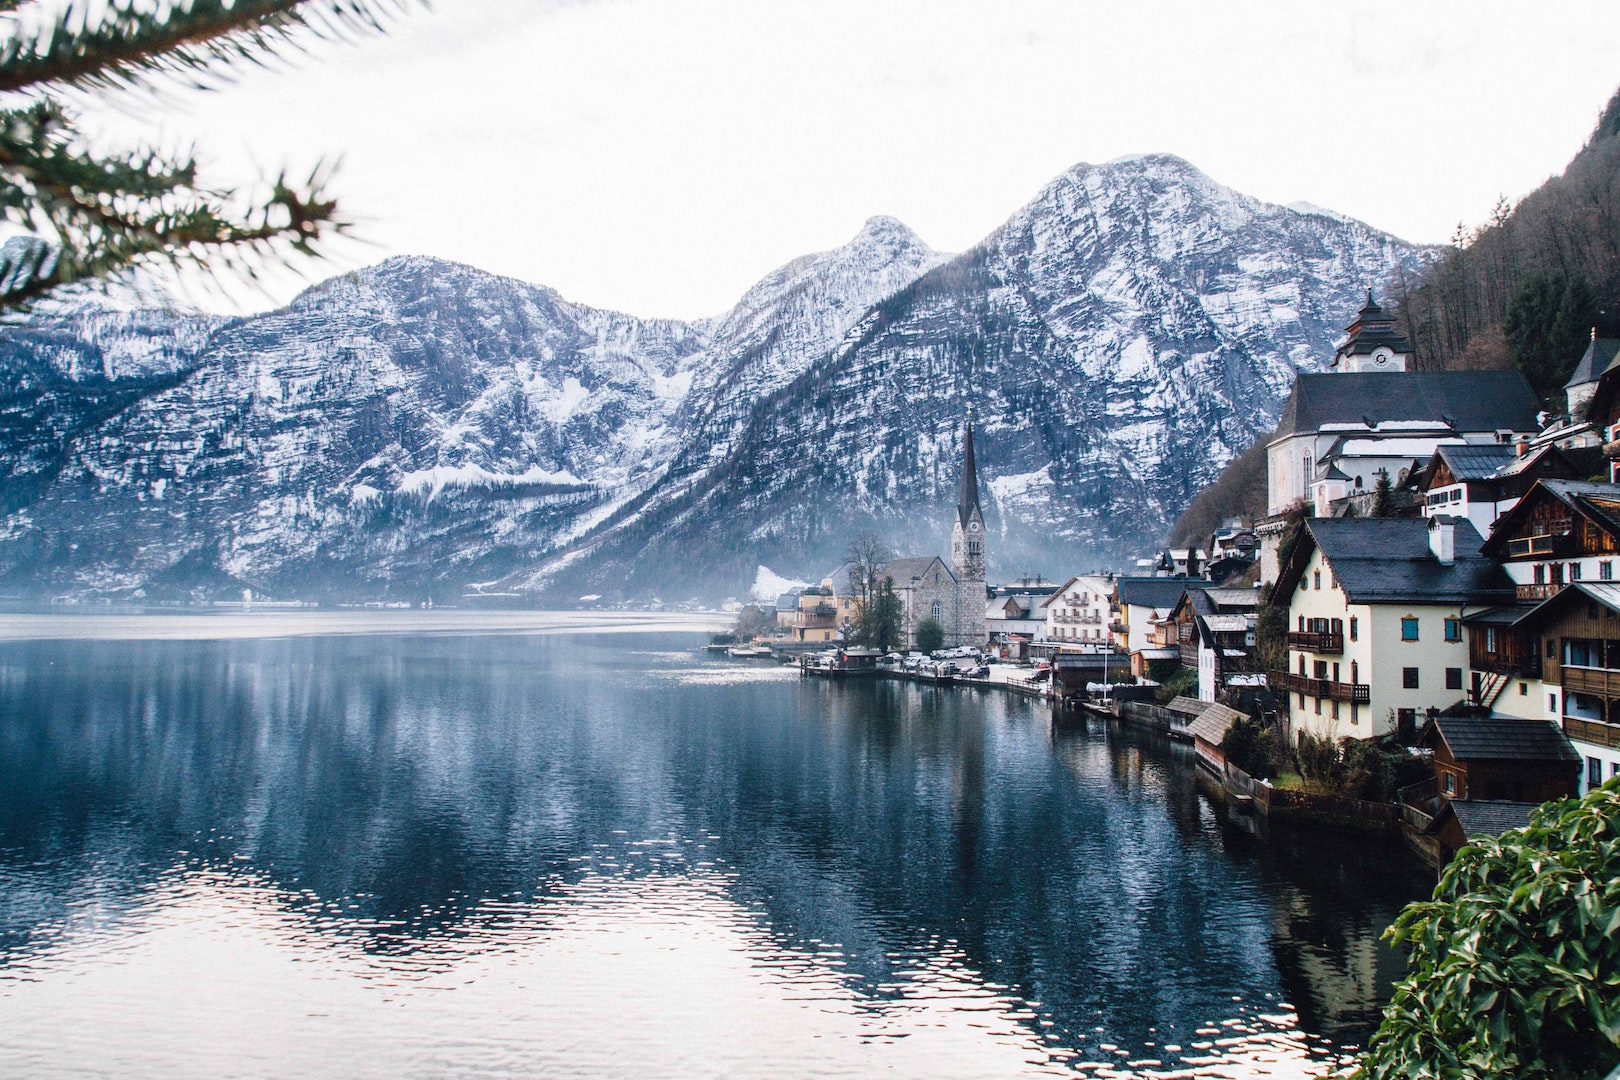
The above photo of a snowy lake town in Austria is an example of using anarrow aperture. Using a narrow aperture allowed the photographer to achieve a perfectly in-focus photograph. You can see the amazing detail of the mountains in the background along with the crisp, clean detail of the houses along the lake shore.
Conversely to wide, a narrow aperture’s f-stops reflect larger numbers. Small opening = large numbers. Examples of narrow aperture f-stops are f/16 and f/22.
Use a narrow aperture when you want your entire photo to be in focus, to capture fine detail in landscape or building shots, allow for slower shutter speeds which can create motion blur or light trails in night photography.
Fast Shutter Speed
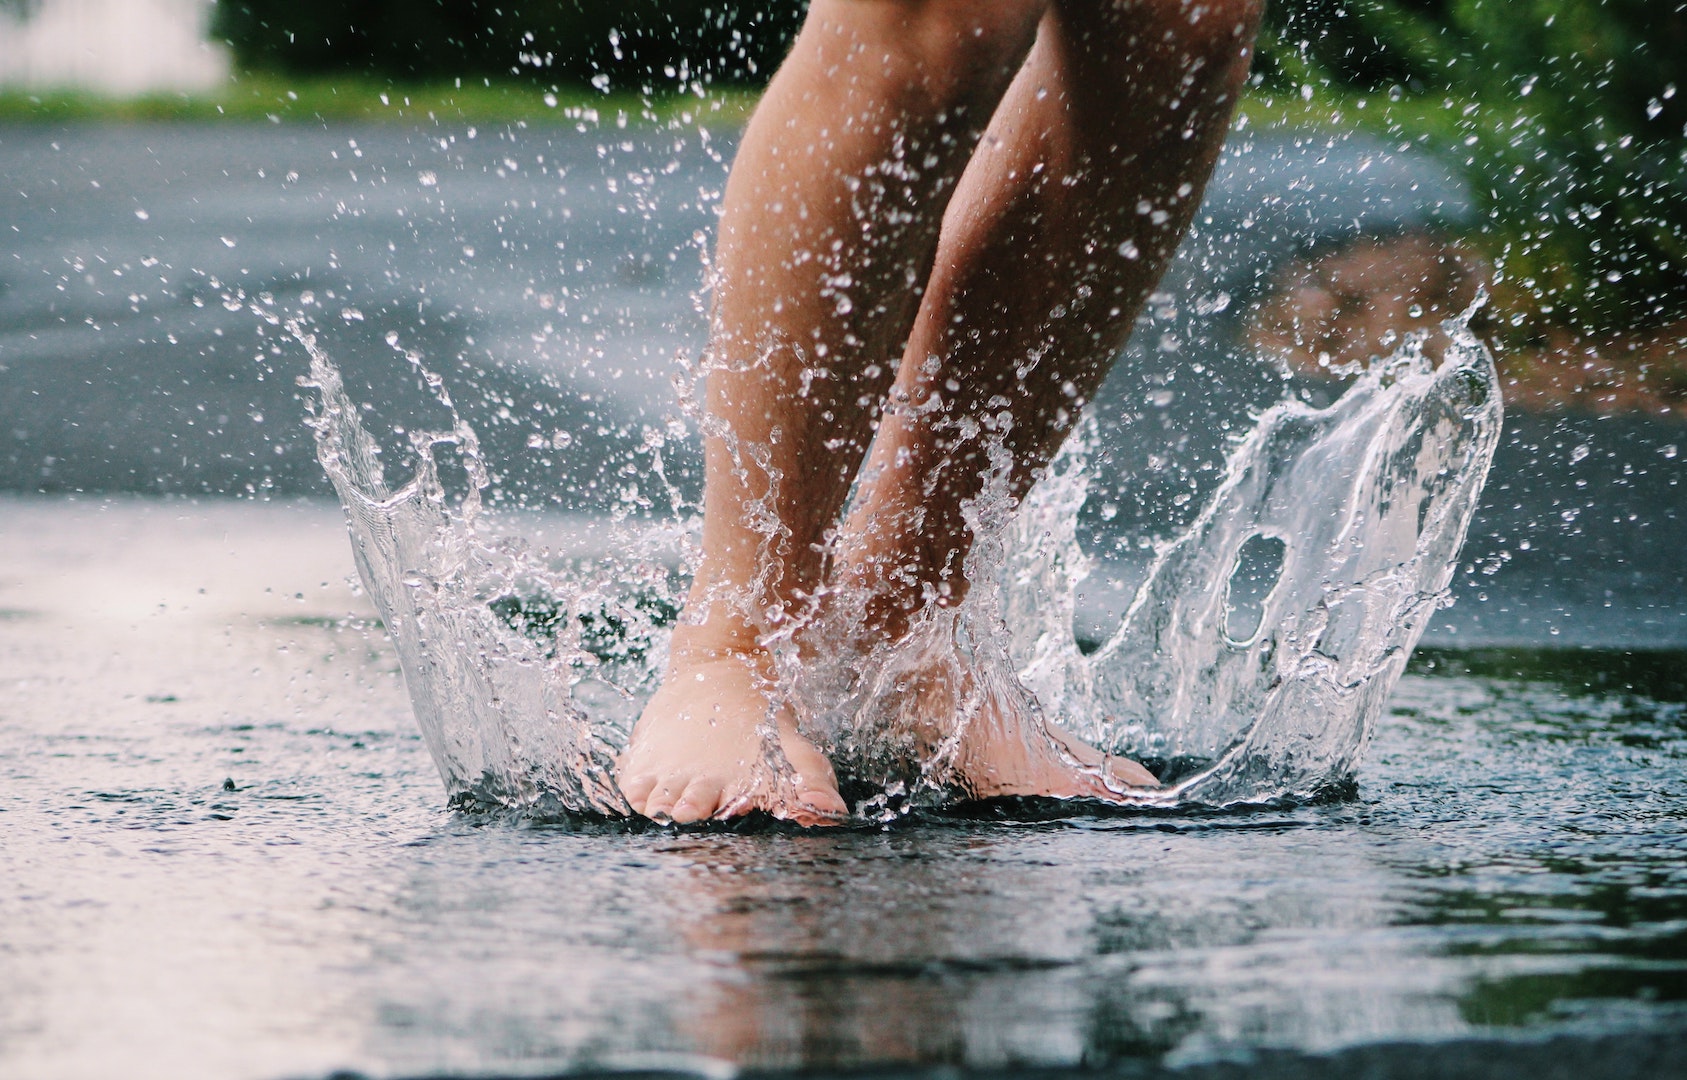
The above puddle splash photo is an example where the photographer used a fast shutter speed. Using a fast shutter speed created a shot that not only froze the water in action but also captured all detail in the tiny water droplets. Some examples of fast shutter speeds are 1/2000 second down to 1/125 sec.
Use a fast shutter speed when you want to freeze extremely fast movement (cars or bikes), freeze moving animals, people walking, or children playing, or reduce blur from camera shake or shows without using a tripod.
Slow Shutter Speed
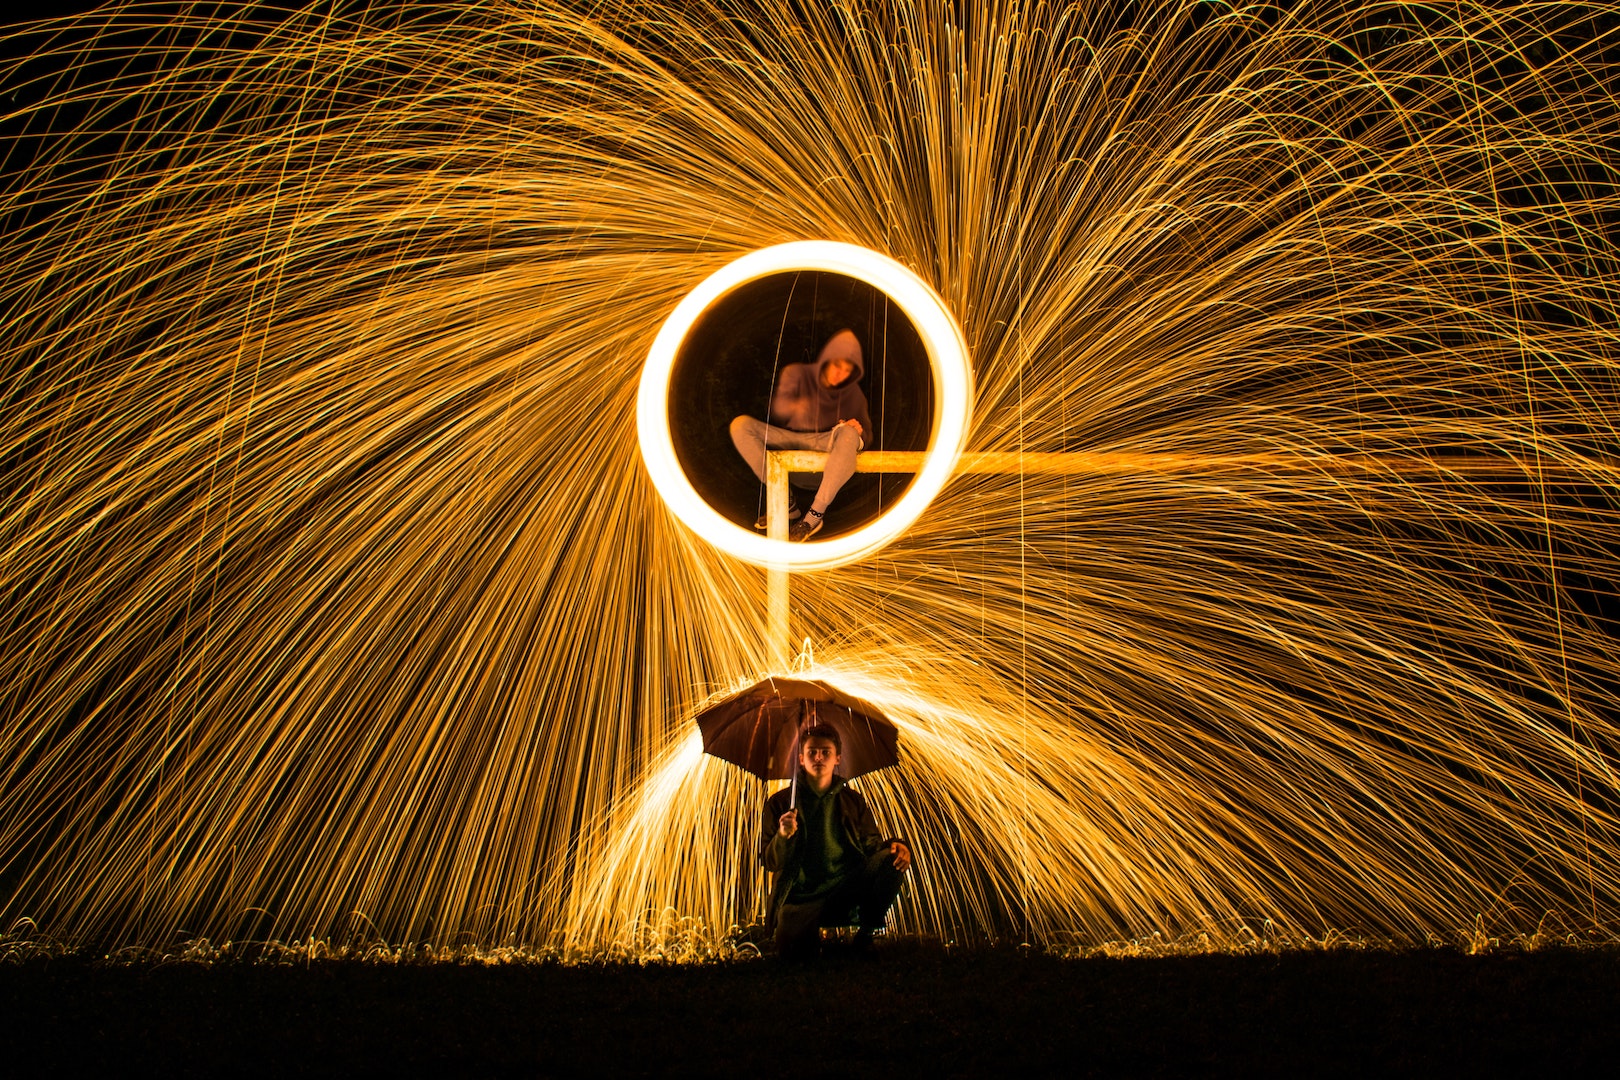
Above is a beautiful example of extremely slow shutter speed. The photographer was able to capture the firework’s light trails using a slow shutter speed (or long exposure), allowing more light to hit the camera’s sensor.
While fireworks are very beautiful to photograph, the task can sometimes seem daunting. Almost all use of slow shutter speed requires the use of a tripod. Most new photographers who experiment with this type of photo end up getting frustrated with the results because they try to capture their photos without using a tripod.
Some examples of slow shutter speeds are 1/15 sec up to 1 second or longer. Use slow shutter speed to blur motion, soften moving water, or capture fireworks/night photography.
ISO
Let’s talk about ISO. ISO is all about your camera sensors sensitivity to light. When shooting in the daylight you want to use a very low ISO (100 or 200) because you already have a lot of light to work with. The darker it gets outside, the higher ISO (more sensitivity to light) you will need. For night photography, you might want to set your ISO around 1600 and go up from there.
ISO works hand-in-hand with your aperture and shutter speed. Adjusting the ISO can help you get a clearing shot with less natural light. Keep in mind that the higher ISO you use, the noisier (grainy) your photograph will turn out.
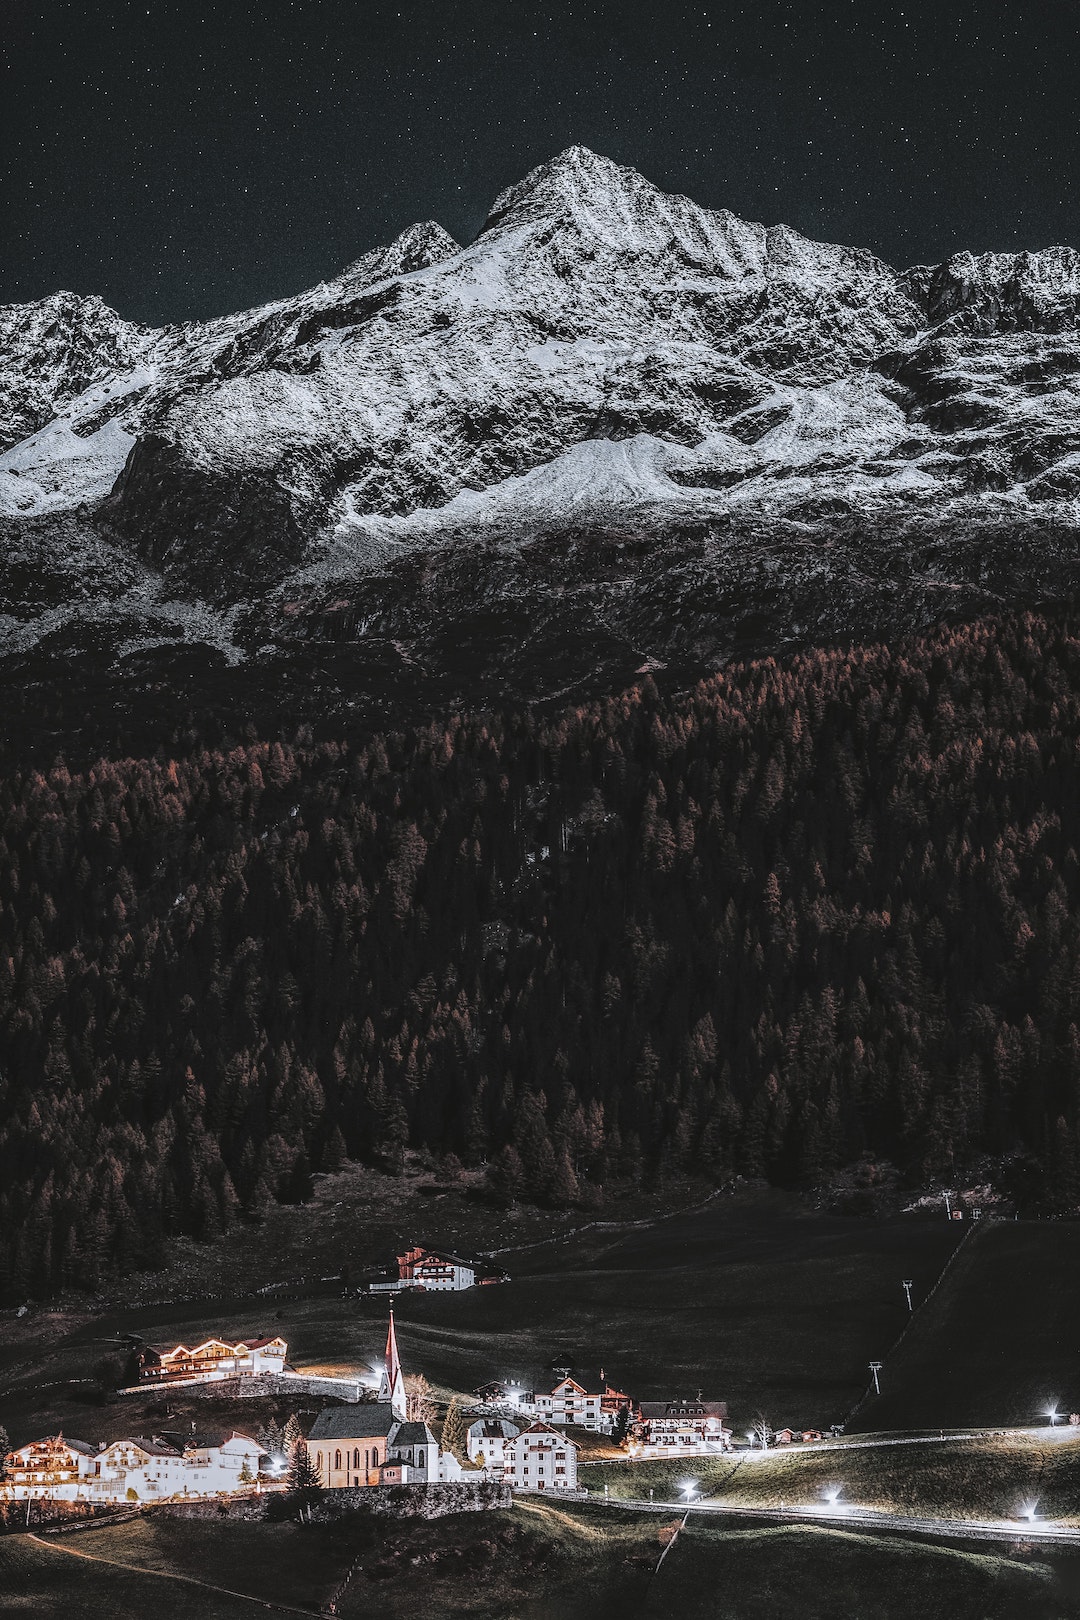
The above photo is an example where the photographer had to use a high ISO and a tripod. This photo is a great example of how ISO, aperture and shutter speed work together. Using a higher ISO provides more light sensitivity, along with slow shutter speed (more light), enables the use of a narrow aperture (sharp photos) to capture the detailed night landscape.

Hey Juliette! Love the images you chose and the what you said about them. I love the wordpress site you built too! Good luck to you in this course! Here is my blog https://justinschoneblog.wordpress.com/
and here is another blog I really liked from one of our classmates.
https://jmbellephotos.wordpress.com/
Hi Christie, the layout of your blog is so fun! I really like the photos you chose to demonstrate the different aspects of photography. You also gave thorough descriptions for each aspects Great job on your first blog post!
Here is a link to my post https://jaimeshomestyledecor.com/photography/
Here is a link to Emma Sheppard https://emmasheppardblog.wordpress.com/category/photography/
Christie,
I think that your blog is absolutely beautiful, first of all. I wish I knew more about Word Press to make mine look half as good. Anyway, you did an exceptional job at describing aperture, shutter speed, and ISO. I love how each image you chose shows each concept perfectly.
Check out my blog: https://haleyprestwich.home.blog/2019/04/30/haley-prestwich-self-motivated-education/
Check out Wilson’s too: https://wilsoncomm130.wordpress.com/2019/05/01/the-basics-of-aperture-shutter-speed-and-iso/comment-page-1/?unapproved=5&moderation-hash=ada7b639e01d631542596ffea814c65d#comment-5
This is so cool! I was proud of my blog ( https://ysabellevisualmedia.wordpress.com/ ) but anyways I love that you gave it a fun and interesting title and you. I like that you have a really good word flow and you explain all the lingo. Great job, it was fun to read!